





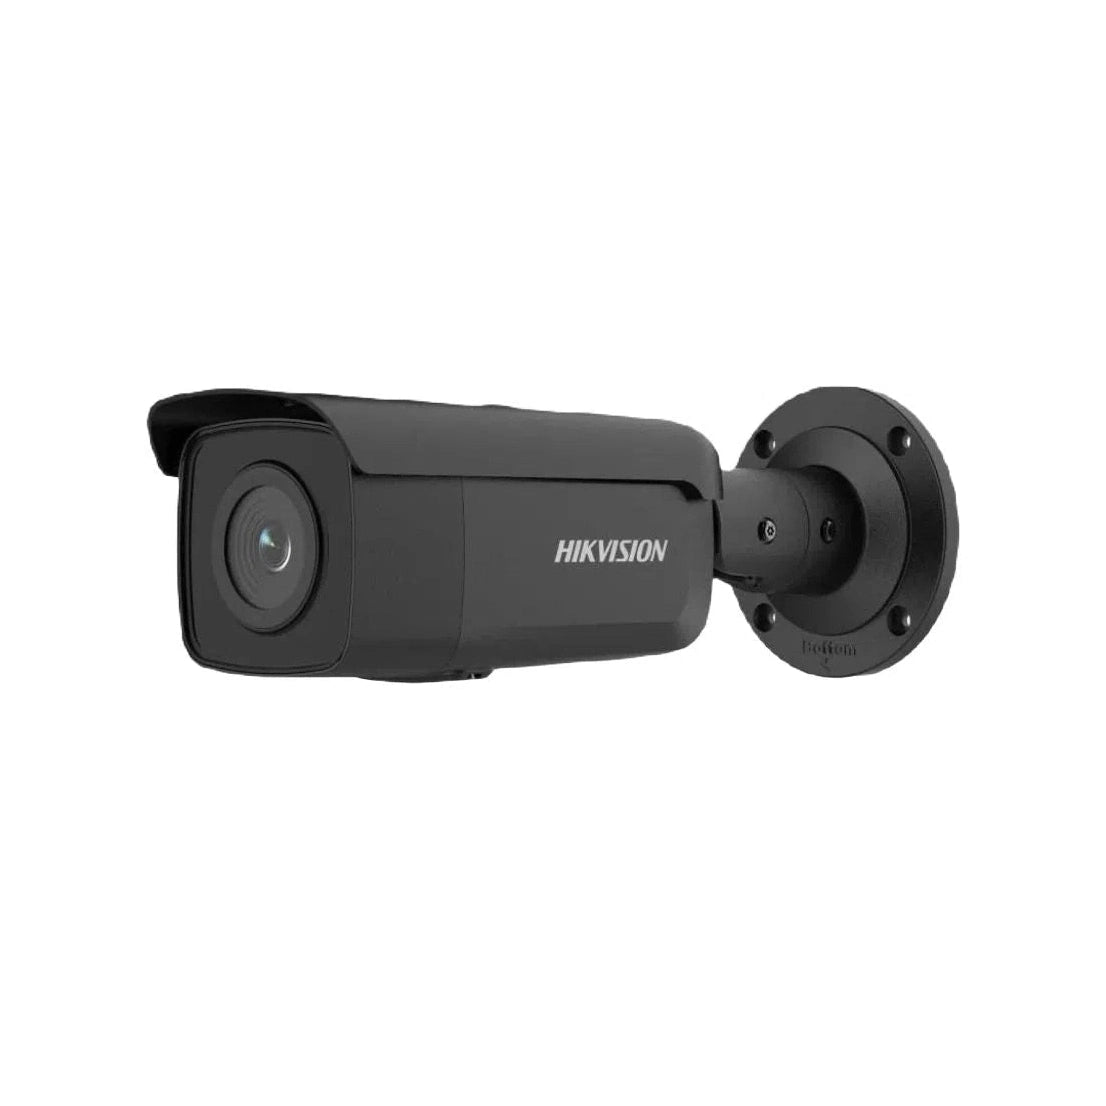


Most people start shopping for home security cameras with installation by looking at camera models first — but the bigger decisions are usually about how the system is set up, not which camera you pick. This checklist walks through the practical choices that actually determine whether your system works well day to day, then covers what a proper installation involves step by step.
The Decisions That Matter Most
Wired (PoE) vs Wireless (Wi-Fi)
A wired PoE (Power over Ethernet) camera gets both power and data through a single cable, which generally means a more reliable connection and no battery to recharge — but it needs cable runs planned and installed properly, ideally at build or reno time if you want it hidden. A wireless camera is far quicker to install and reposition, but depends on your Wi-Fi signal strength at that spot and, for battery models, needs periodic recharging or a solar panel. Neither is universally "better" — it depends on your home's layout and whether you're retrofitting or building.
Local Storage vs Cloud Storage
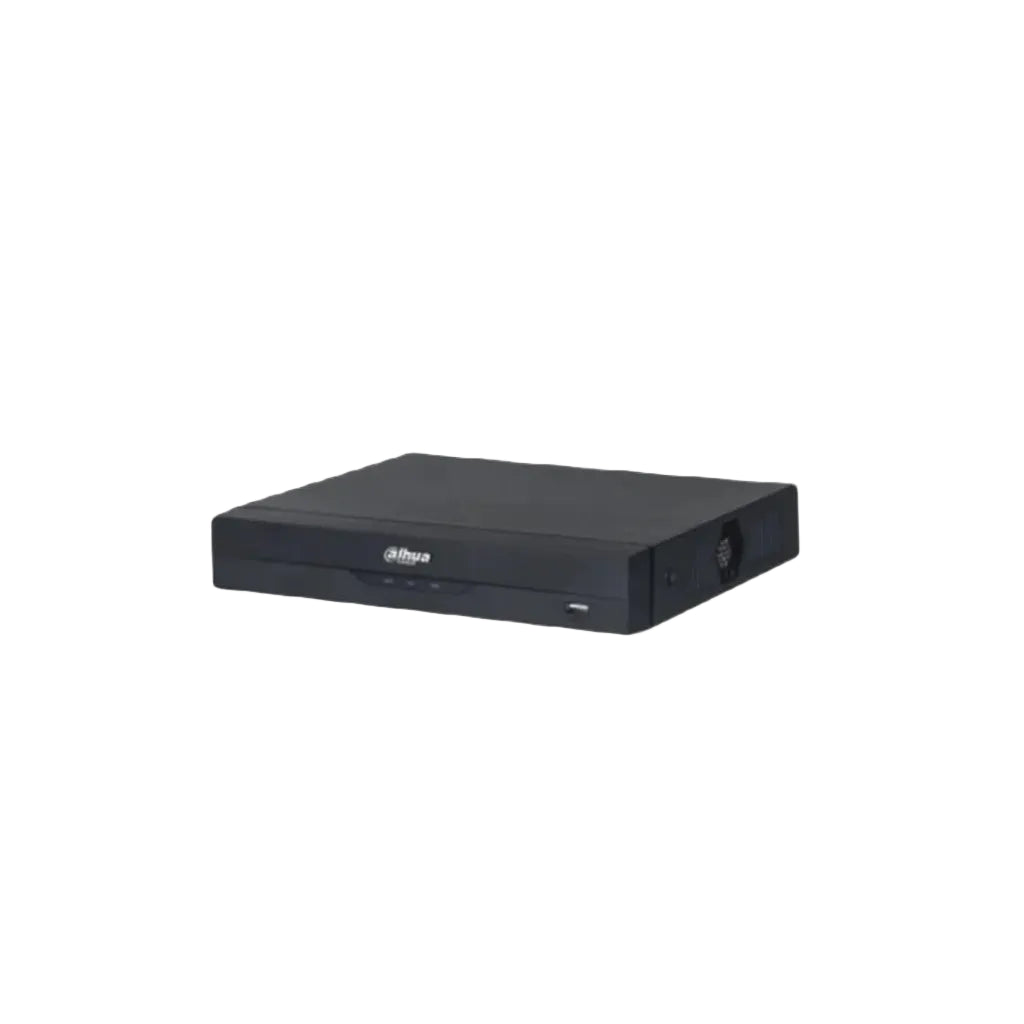
Local storage (an SD card, DVR or NVR on-site) means your footage stays on your property with no ongoing subscription, but it's vulnerable if the recording device itself is stolen or damaged, and you lose remote footage access if your internet drops. Cloud storage means footage is backed up off-site and viewable from anywhere, but usually comes with a monthly or annual subscription cost and relies on your internet connection to upload in the first place. Many systems support both, which is often the safest approach — local as the primary with cloud as a backup.
How Many Cameras and Where
More cameras isn't automatically better coverage — a well-placed handful covering your actual entry points, driveway, and known blind spots beats a larger number placed without a real plan. This is genuinely one of the areas where getting an installer to walk the property first pays off, since blind spots are often not obvious until someone's specifically looking for them.
DIY vs Professional Installation
DIY suits a simple, small wireless setup where you're comfortable with the app and basic network settings. Professional installation earns its cost back on anything more involved — multiple cameras, wired/PoE runs, or network security configuration you're not confident doing yourself — since mistakes in placement or network setup are easy to make and not always obvious until something goes wrong. See the table below for a quick comparison.
| Factor | DIY Installation | Professional Installation |
|---|---|---|
| Upfront cost | Lower (hardware only) | Higher (hardware + labour) |
| Placement accuracy | Depends on your own assessment — blind spots are easy to miss | Site-assessed to cover actual entry points and blind spots |
| Wired/PoE runs | Difficult without electrical/cabling experience | Properly run and terminated, often concealed |
| Network security setup | Easy to leave on default/weak settings | Configured properly from the start |
| Troubleshooting if something fails later | On you to diagnose | Backed by ongoing technical support |
The Installation Process, Step by Step
1. Site Walkthrough
An installer walks the property to identify entry points, driveways, blind spots, and any site-specific issues like awkward sightlines or limited Wi-Fi coverage in certain areas.
2. Planning Cable Runs or Wireless Placement
For wired/PoE systems, cable routes are planned to be discreet and protected from weather and tampering. For wireless, Wi-Fi signal strength is checked at each proposed camera location before committing to a spot.
3. Mounting and Cabling
Cameras are physically mounted, with cable runs installed and terminated properly for wired systems — this is also when height and angle get fine-tuned to maximise useful coverage rather than just "pointing roughly the right way."
4. Network and Storage Configuration
This covers connecting cameras to your network (ideally on a separate or properly secured segment — see why a poorly planned network causes problems later), setting up local and/or cloud storage, and tuning motion detection zones so you're not getting constant false alerts.
5. Security Hardening
Default passwords get changed, firmware updated, and basic access controls set — the kind of step covered in more depth in our guide on preventing your camera system from being hacked.
6. Testing and Handover
Every camera is checked for coverage, video quality (day and night), motion alerts, and remote app access before the installer hands the system over — with a walkthrough of how to use it day to day.
Why Choose Total Security Equipment
We supply and professionally install home security cameras across Melbourne and Sydney, working through exactly this checklist with every job — proper site assessment, correct wired or wireless setup for your property, and network security done right from day one. For a brand-by-brand look at the cameras themselves, see our guide on comparing the major camera brands.
Ready to plan a properly installed camera system for your home?
📍 26 Davies Ave, Sunshine North, VIC 3020
📞 03 9079 5566
Call us or send a message for a free consultation and quote.
Home Camera Installation FAQs
1. Should I choose wired or wireless cameras?
It depends on your home — wired (PoE) is more reliable and suits a build or renovation where cables can be run and hidden, while wireless is faster to install and better for a retrofit where running cable isn't practical.
2. Do I need cloud storage, or is local storage enough?
Local storage keeps footage on-site with no subscription but is vulnerable if the recorder is damaged or stolen; cloud storage backs footage up off-site for a fee. Many homeowners use both — local as the primary with cloud as backup.
3. How many cameras do I actually need?
It's about placement, not quantity — a smaller number of well-placed cameras covering your real entry points and blind spots usually beats a larger number placed without a plan. A site assessment settles this properly.
4. Is DIY installation good enough?
For a simple, small wireless setup, often yes. For multiple cameras, wired/PoE runs, or anything requiring careful network security configuration, professional installation reduces the risk of mistakes that aren't obvious until something goes wrong.
5. What does a professional installer actually check during a site walkthrough?
Entry points, driveways, existing blind spots, sightline obstructions, and (for wireless) Wi-Fi signal strength at each proposed camera location.
6. How is motion detection tuned so I don't get constant false alerts?
Detection zones are set during configuration to focus on relevant areas (like your doorway) rather than, say, a busy street beyond your fence — reducing alerts for movement that isn't actually relevant to you.
7. What security hardening actually happens during installation?
Changing default passwords, updating firmware, and setting basic access controls — simple steps that are easy to skip but meaningfully reduce the risk of your cameras being compromised.
8. Can I upgrade from wireless to wired later?
Generally yes, though it may mean new cable runs and remounting rather than a simple swap — worth discussing with an installer if you're planning to start wireless now and go wired later.
9. What happens during the final testing and handover?
Every camera is checked for coverage, day/night video quality, motion alerts, and remote app access, followed by a walkthrough of how to use the system day to day.
10. Which camera brand should I go with?
That's covered separately in our brand comparison guide — this checklist is about the setup decisions that apply regardless of which brand you choose.
Additional Information
Melbourne HQ
26 Davies Ave., Sunshine North, VIC 3020
03 9079 5566
Sydney Branch
38 Lisbon St., Fairfield East, NSW 2165
02 8722 0348
Ordering & Support
- Australia-wide prompt shipping
- 100% genuine official stock with full local warranty
- Wired & wireless home camera systems in stock
- Professional installation across Melbourne & Sydney
- Ongoing technical support and troubleshooting
Want your camera installation planned properly from the start? Contact our Melbourne team on 03 9079 5566 or Sydney on 02 8722 0348 for a free consultation.